Has your cat’s favorite scratching post seen better days? If you're a devoted cat parent, you know how much your feline relies on their scratcher for play, exercise, and stress relief. But instead of tossing it out, why not fix it up?
Repairing a cat scratcher is not only budget-friendly but also better for the environment and your cat will appreciate having their familiar post back in action. In this guide, we’ll show you exactly how to repair a worn cat scratching post with easy DIY steps, smart tools, and helpful tricks.
Why Repair Your Cat Scratching Post Instead of Replacing It?
💸 Cost Savings
A quality cat scratcher isn’t always cheap. Simple repairs can extend its life significantly without breaking the bank.
🌱 Sustainability & Eco-Friendliness
Repairing means less waste and fewer materials ending up in landfills. Every fix is a win for the planet.
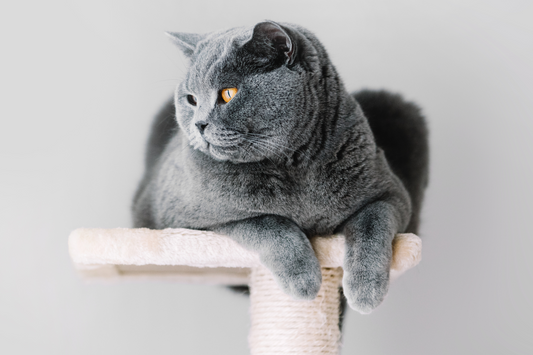
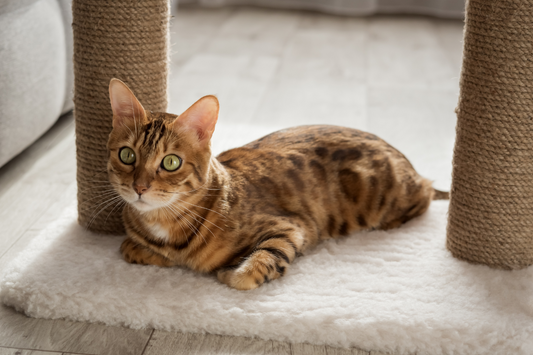
🐱 Comfort for Your Cat
Cats are creatures of habit. They often get attached to a specific post, and repairing it keeps their environment consistent and stress-free.
Tools and Materials You’ll Need
Before you begin, gather the following items:
- Sisal rope or carpet remnants
- Hot glue gun or pet-safe adhesive
- Scissors or utility knife
- Staple gun (optional)
- Gloves and safety glasses
- Sandpaper (for smoothing rough edges)
Step-by-Step Guide to Repairing a Cat Scratcher
🔍 Assess the Damage
Look at the wear areas—frayed rope, loosened staples, or an unstable base. Determine what needs replacing or reinforcing.
🪓 Remove Old Material
Carefully cut away the damaged sisal or carpet. Use gloves to avoid splinters or sharp edges.
🧵 Wrap or Reapply Sisal or Carpet
Tightly wrap new sisal rope from the bottom up. If using carpet, cut it to size and fit it snugly. Use glue or staples to hold it in place.
🔒 Secure Everything Properly
Use a glue gun generously and staple where needed. Ensure everything is taut and secure.
⏳ Let It Dry and Test
Allow glue or adhesive to set fully before letting your cat use it. Then, do a gentle shake test to ensure stability.
When to Replace Instead of Repair
Sometimes a scratcher is beyond saving. Replace it if:
- The base is wobbly or cracked
- The frame is splintered or structurally unsafe
- Damage would cost more to fix than buying a new one
Customer DIY Repair Stories
“I almost threw out our SHIZHOO scratcher, but I gave it a second life with new sisal and some love. Now it looks brand new!” – Mina R.
“With two cats, our scratcher wore out fast. I followed a DIY video and wrapped it myself. Saved me money and my cats didn’t even notice the change!” – Ali H.
Got your own SHIZHOO repair story? Share it with us and inspire other pet parents!
Tips to Prevent Future Wear and Tear
Rotate posts: Change their position regularly so cats use different sides.
Regular maintenance: Snip loose fibers and tighten staples every few months.
Use protective wraps: Add a replaceable mat or cover over high-use areas.
Conclusion
Repairing a worn cat scratching post is not only budget-friendly but also a satisfying way to extend the life of a product your feline friend loves. With a few basic tools and a bit of effort, you can breathe new life into your cat’s favorite scratcher—keeping them happy, active, and away from your furniture.
So the next time your cat’s scratcher starts showing signs of wear, don’t toss it—fix it! Your cat (and your wallet) will thank you.